Whether you’re joining an Oceanic Society snorkeling expedition or planning your own adventure, the right snorkeling gear can make all the difference. Comfortable, well-fitting equipment enhances both safety and enjoyment, especially when you’re spending several hours a day in the water.
While rentals are available in some destinations, we strongly recommend bringing your own gear for a reliable fit, comfort, and safety. We know firsthand that uncomfortable or faulty equipment can quickly take away from an otherwise unforgettable experience.
To help you choose, our naturalists and travel experts share their favorite snorkel gear, brands, products, and tips, including what to look for and what to avoid.
Jump to Contents
The Best Snorkel Equipment: Recommendations & Tips
Snorkel Mask Recommendations
When shopping for masks, there are generally two types of lenses to consider: single lenses, which provide a wider field of view, and double lenses, which offer better depth perception.
Instead, choose a traditional mask that leaves your mouth uncovered, allowing you to easily remove the snorkel and clear your airway if needed.
How to Fit a Mask to Your Face
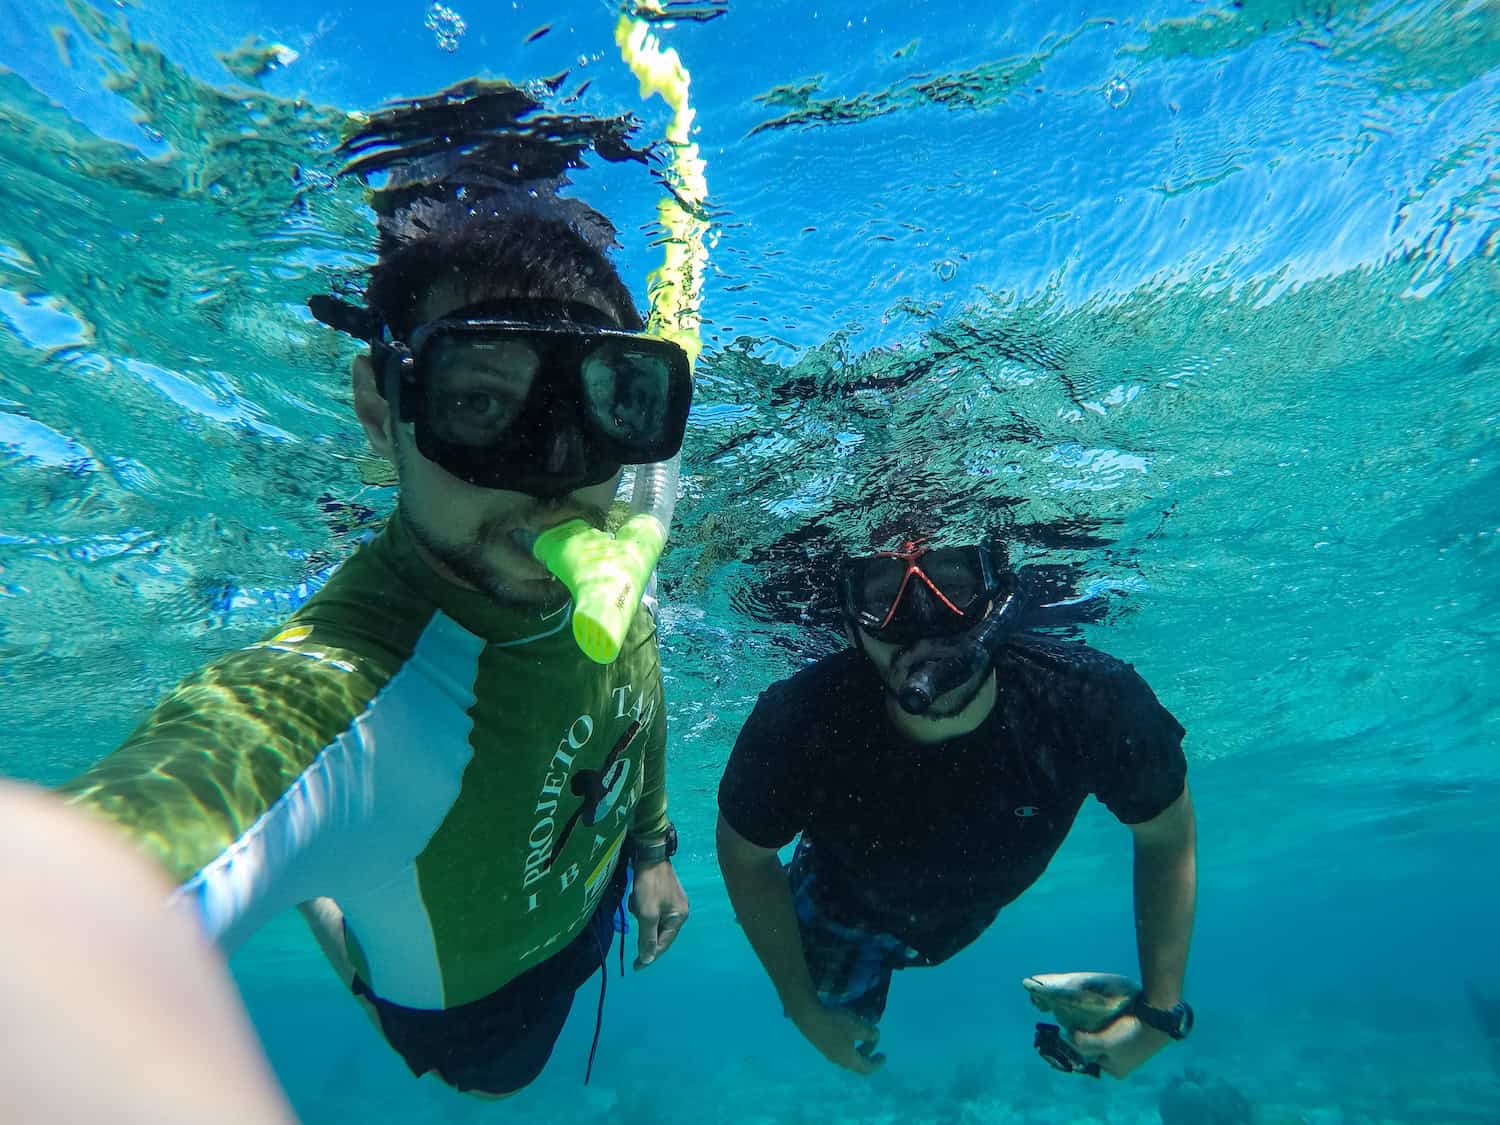
The fit of your mask is crucial. Our staff highly encourage you to try on your mask before purchasing to find the proper fit.
Try this simple fit test:
- Hold the mask to your face without the strap.
- Breathe in through your nose.
- If it stays sealed, the fit is good. If air leaks in, try another.
“The key to a proper fit is not to over-tighten the mask. It should be snug on your face. Too tight and it will leak; too loose, the same. ” – Wayne Sentman
Staff Pick Snorkel Masks
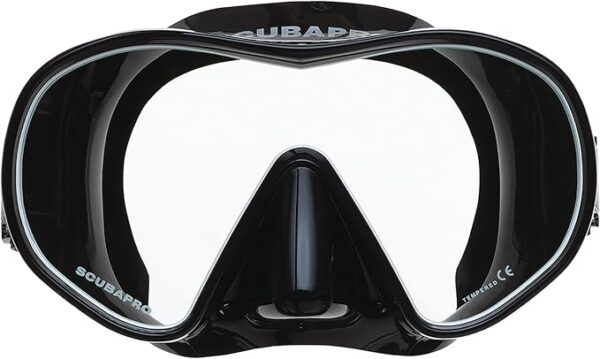
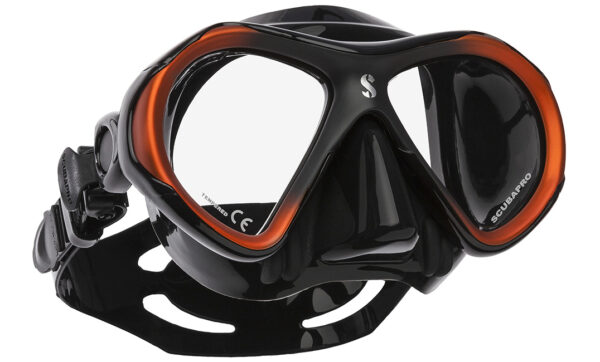
Best for Prescription Lenses: If you wear glasses, you don’t have to sacrifice clear vision underwater. Two options our team recommends:
- Prescription Dive Masks: Choose a mask with prescription lenses built in for a simple, ready-to-use option.
- Scubapro Optical Lenses: Many Scubapro masks can be fitted with prescription lenses that you can change yourself. These are reasonably priced and well worth the expense.
Snorkeling Mask Tips
- Try before you buy: Several team members recommend visiting your local dive shop to try on a few options and find the mask that fits you best. If you order online, be sure to order well before your trip in case you need to try a few options to find the right fit.
- Have longer hair? A neoprene mask strap cover can keep the strap from getting tangled in your hair. Girls that Scuba offers a bundled set with a mask strap, headband, and hair tie.
Get Our Snorkel Guide + Packing List
Download our free, shoppable snorkel gear guide and packing list to help you prepare for your next ocean adventure.
Mask Defogging Recommendations
No matter how well your mask fits or what type of lens you have, fogging can be a challenge. Fortunately, a few simple steps can help keep your mask clear.
Before using a new mask
Scrub the inside of the lenses with a gentle abrasive, such as toothpaste, to remove residue from the manufacturing process that can cause fogging. Learn how to pre-treat a new mask.
From then on, regular use of a mask defogger (or yes, even spit) before entering the water can help keep your mask fog-free. Our team advises not to do both because the spit will counteract the defogger. Here are our anti-fog recommendations:
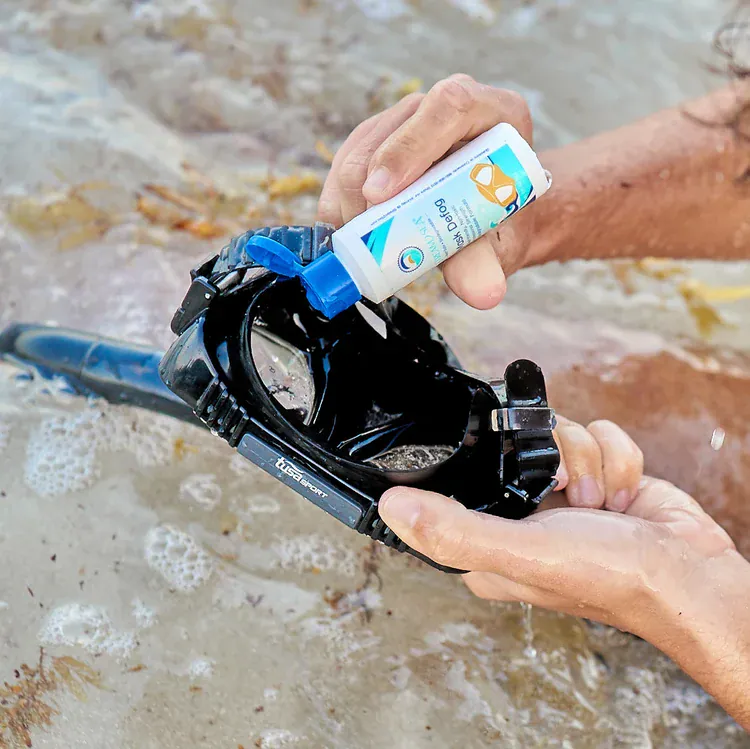
Stream2Sea Professional Mask Defog keeps scuba and snorkel masks and goggles crystal-clear with a professional-strength formula made with safer ingredients for your eyes and our blue planet.
Staff Picks: Stream2Sea Defogger or Tidal Sports Anti-Fog Spray
“I use my Stream2Sea Defogger (use this link for 10% off) high-quality + reef-safe mask defogger and it works every time (and better than my own spit). It keeps my mask clear to see all the tiny nudibranchs for 2+ hours, and it doesn’t sting my eyes. I always run out of the bottle because everyone on the boat ends up using it. Tidal Sports (20% off with code: OceanicSociety) also offers masks with anti-fog technology and spray to ensure you have a clear view underwater.” – Pei Lun Lee
If your mask continues to fog after trying standard defogging methods, our team has another technique to consider. “I’ve always struggled with my masks fogging up, even after trying toothpaste, baby shampoo, mask defogger, and spit, nothing consistently worked for me until one of our divemasters suggested burning the inside of the lens. Sounds crazy, and yes, you need to be careful not to damage your mask, but it has worked like a charm for me. If you also struggle with a consistently foggy mask, consider reading up on how to do this (at your own risk)!” – Brian Hutchinson
Snorkel Recommendations
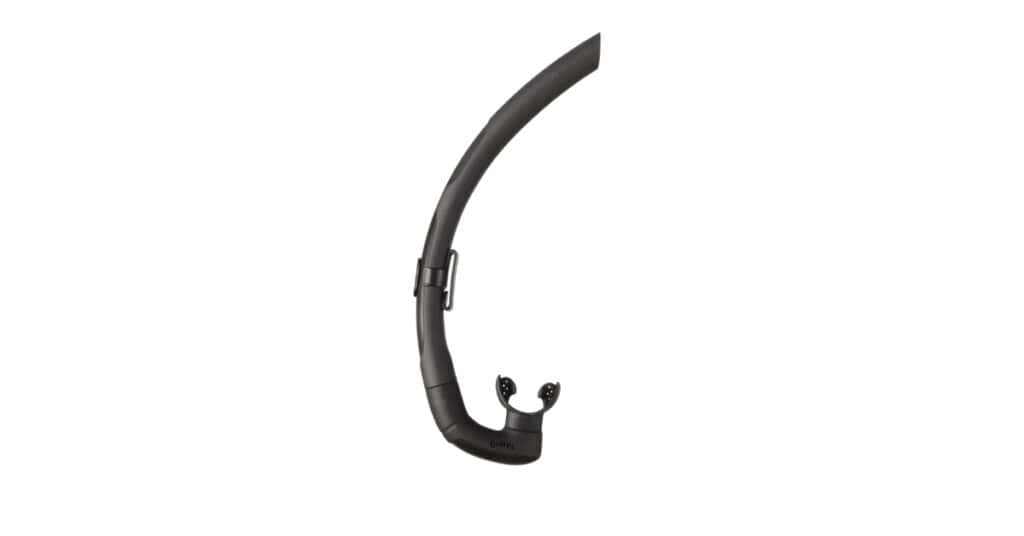
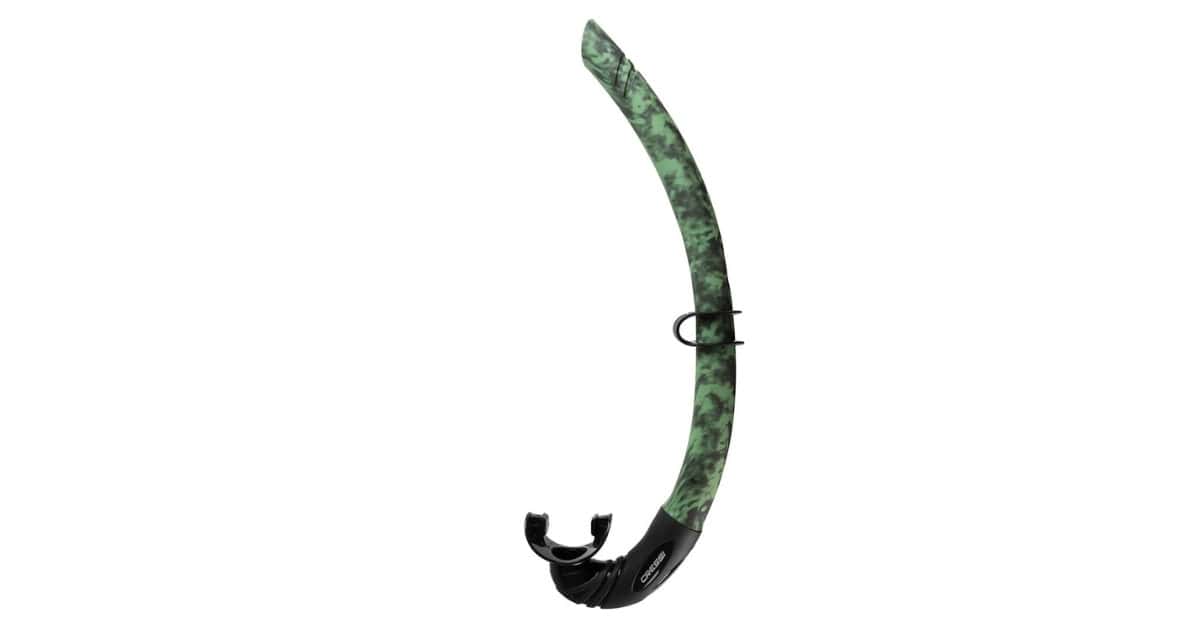
Keep your snorkel simple. Most dive shops offer the standard J-snorkels (simply a plastic, J-shaped tube with a mouthpiece) that attach easily to your mask. Don’t overthink this one.
“When purchasing a snorkel, I like to aim for ones that look like they’ll have the most comfortable mouthpieces. When spending hours snorkeling, comfort is key.” – Huntley Penniman
Wetsuit Recommendations for Snorkeling
Overall, a wetsuit may be the most important investment you make if you plan on spending significant time in the water. In addition to protecting your skin from scratches, stings, and UV rays, wetsuits are designed to keep you warm while submerged. But just like sleeping bags for camping, different water temperatures require different wetsuits. Our body loses heat 20% faster in water than it does on land, so even in water temperatures reaching 32°C/90°F, the difference can be significant.
The main thing to know is that thicker wetsuits are warmer, but less flexible. Generally, wetsuit thickness is measured in millimeters, with different thicknesses used for the torso and limbs. For example, X/Y millimeters generally refers to differing thicknesses at the torso and limbs.
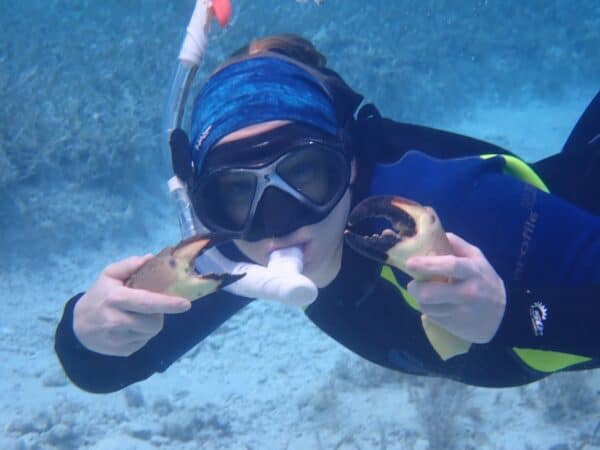
For most Oceanic Society trips: Our expeditions typically take travelers to warm waters, so you don’t need a thick wetsuit unless you tend to run cold. Full wetsuits are also a good choice for sun protection, reducing the amount of exposed skin and your reliance on sunscreen.
Choosing the Right Wetsuit Thickness
For some people, a full-body dive skin or rash guard may be enough to keep them warm in tropical waters. It can also be layered underneath a wetsuit for colder temperatures, with the added benefit of making the wetsuit easier to get on and off. Everyone has a different tolerance to cold. Some travelers find a rash guard is sufficient at the same destination where others prefer a 3mm wetsuit. Choose based on your own comfort, the water temperature, and how much time you’ll spend in the water.
Finding the Right Fit
A wetsuit should feel snug against your body without restricting your movement. Because sizing and fit can vary between brands, trying on a few options before purchasing is ideal. Pay particular attention to your range of motion and look for gaps where water could easily enter.
Staff Tip: “Wetsuit fit is critical, especially in colder water, and each brand fits people differently. Your wetsuit should be tight, but should not limit your range of motion. If it does, then it is too tight.” – Rosie Jeffrey
Wetsuits typically come with either a back zipper or chest zipper. Back zippers are generally easier to get on and off, but can feel tighter across the shoulders. Chest zippers offer greater flexibility across the shoulders, but can be more challenging to put on. Zipper-free wetsuits are also available, though these are generally designed for watersports enthusiasts looking for maximum flexibility.
Wetsuit Recommendations
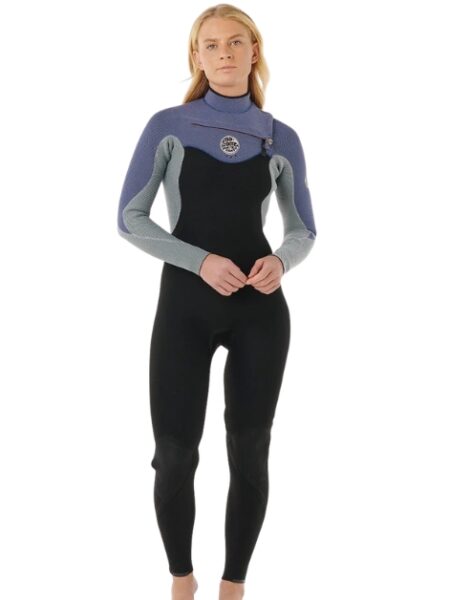
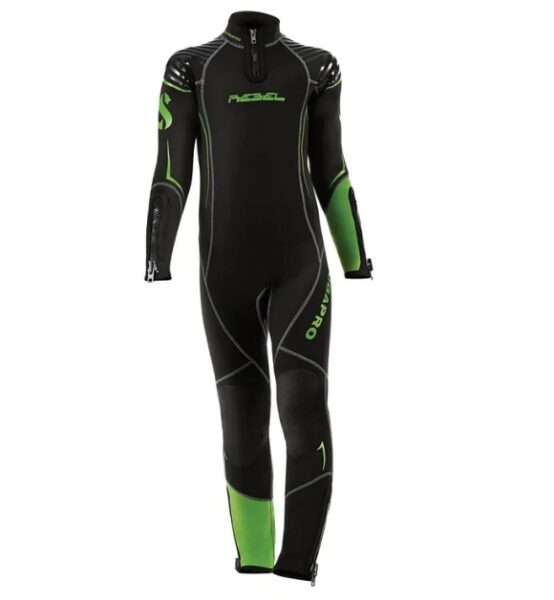
Wetsuit Care: Store your wetsuit hanging in a cool, dry place away from direct sunlight. When traveling, unpack it and hang it as soon as you can so it can regain its natural shape and dry properly.
Sun Suits & Rashguards
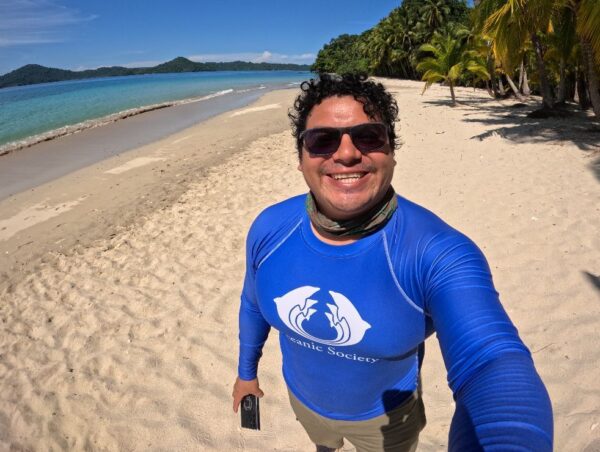
The best thing you can do to both protect your skin from sun damage is to cover-up. Sun suits and rashguards are a great option for warm-water snorkeling when you want protection from the sun without the warmth of a wetsuit. They can also reduce how much sunscreen you need to apply, which is especially helpful around coral reefs. A hat, buff, or other UPF-rated clothing is recommended for ample time on the beach or boat.
Know the difference:
- Rashguards: Lightweight tops that protect against sun and chafing.
- Sun suits / skins: Lightweight UV-protective clothing that provides more coverage, sometimes over the entire body.
- Wetsuits: Neoprene layers designed to keep you warm, with added protection from the sun, stings, and scrapes.
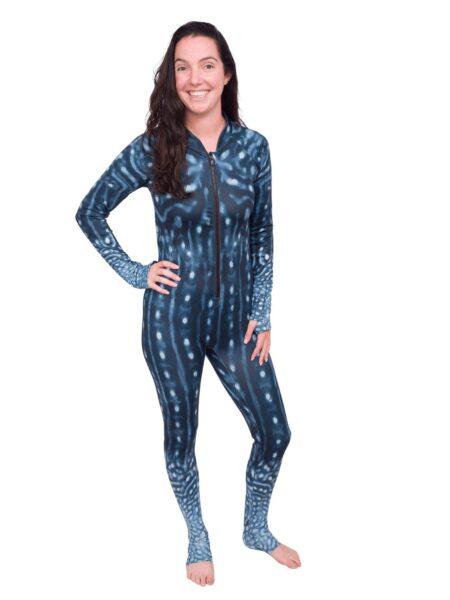
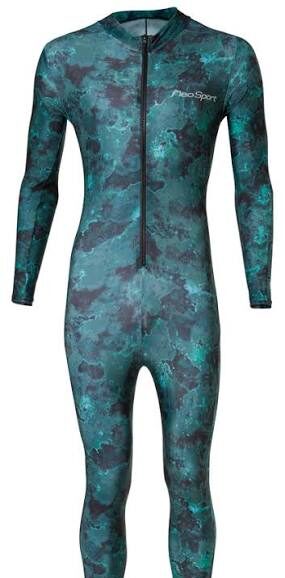
Snorkel Fins Recommendations
For many travelers, snorkel fins end up on the chopping block when packing because they can be unruly to fit into your luggage. But please, don’t leave them behind. Fins are crucial when swimming in water with currents, allowing you to stay in the water longer and reduce muscle fatigue, allowing for greater maneuverability, helping to keep you safe, and altogether ensuring you make the most of your experience. But if we can’t convince you of the importance of buying your own, make sure to at least bring a pair of neoprene boots or socks to protect your feet from blisters should your rental pair not fit quite right.
Snorkel Fin Fit & Packing Tips:
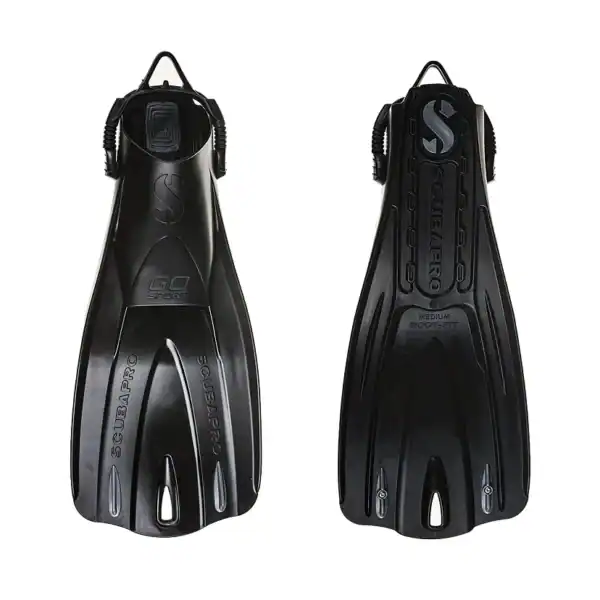
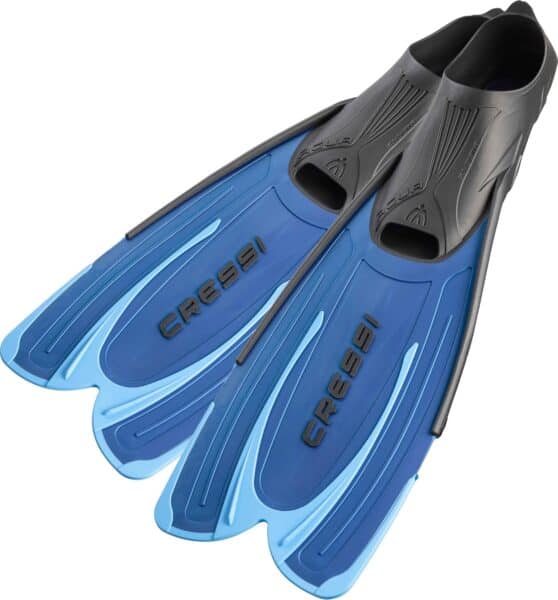
- Look for fins around 20 inches long. Short “duck fins” require more effort for longer swims.
- Choose the right style. Fins are offered in full-foot or open-heel style. Full-foot fins fit like a shoe, and are generally cheaper, but need to be carefully sized like a shoe. Open-heel models require that you wear neoprene boots, are easier to size due to the adjustable strap, but are typically more expensive.
- Skip free-diving fins. Avoid long-bladed fins, including models with a split or “slit” design, as they are designed for specialized freediving and aren’t necessary for recreational snorkeling.
- Prioritize fit. If possible, try fins on before buying. If you choose open-heel fins, make sure your neoprene socks or boots are compatible with them.
- Add a neoprene sock or bootie. Bring a pair to help prevent blisters if you choose open feel fins or have to rent gear. “There are lots of options for neoprene boots. I prefer something that is a pull-on with a rubber sole – I’ve found zippers tend to break or corrode. Make sure whatever booties you invest in are compatible with your fins, and to dry them out I like to roll down the ankle and prop them so they’re upside down.” – Huntley Penniman
Health & Comfort
Reef-Safe Sunscreen
Although “reef safe sunscreens” exist, the term is unregulated. The best thing you can do to both protect your skin from sun damage and coral reefs from pollution is cover-up. Wear a full-body wetsuit or rashguard in the water, and wear hats, buffs, or UPF-rated clothing while above.
Staff Pick: “I use Badger’s Mineral Sunscreens– made with only 4 simple ingredients. Also Stream2Sea (use this link for 10% off). They also have ocean-friendly bath amenities designed especially for water activities) Higher SPF doesn’t exponentially increase protection; rather, it extends the time you can stay in the sun without getting burned, but you should still reapply regularly, especially after swimming.” – Pei Lee
Seasickness Prevention Recommendations
When spending time on the water, whether on a skiff looking for whales or sailing aboard a liveaboard, there is always a risk of seasickness. If you are prone to motion sickness, even a little, being prepared to ward off seasickness is a good idea.
- If you’re prone to motion sickness, plan ahead. Seasickness can happen even on calm-looking days, especially on smaller boats.
- Consider medication. Bonine and scopolamine patches (which can be used for a few days at a time) are popular options. We always advise travelers to consult your doctor to understand what treatment will work best for you before your trip.
- Bring ginger. Ginger chews, lozenges, or ginger ale are easy additions to your day bag.
- Pack simple snacks. Crackers, toast, bananas, or other light foods can be helpful when conditions get rough.
- Get outside. Fresh air and looking toward the horizon can help. If you’re feeling queasy, don’t automatically retreat to your cabin.
- Try acupressure. Some travelers find acupressure points or wristbands helpful as a non-medication option.
“I love ginger-flavored everything, and I usually bring Traditional Medicinals Organic Ginger Lozenges to share with my group as a seasickness prevention supplement. Before boarding for rough seas, Herbals Non-Drowsy Dramamine is my go-to for a smooth transit. For a more holistic way, I also do Acupressure Points for Nausea. Don’t coop up in your cabin, get out for fresh air and enjoy the view of the seascapes!” – Pei Lee
Swimmer’s Ear Drops
The last thing you want to bring home from your trip is swimmer’s ear, a common ear infection that results from water being trapped in your ear and eventually growing bacteria. Using “swimmer’s ear drops” after each foray into the water is an easy way to keep your ears safe and healthy.
- Dry your ears after swimming. Hours in the water can leave moisture trapped in your ears.
- Consider swimmer’s ear drops. Alcohol-based drying drops can help remove excess moisture. Follow the product instructions and check with your doctor if you have ear tubes, a perforated eardrum, or other ear concerns.
- Try a DIY / natural solution. Some travelers use a simple mixture of equal parts white vinegar and rubbing alcohol, but check with a healthcare professional before using homemade ear drops.
“I use Mack’s alcohol drops if my ears are feeling waterlogged, but it’s important to rinse this out with fresh water afterward to avoid infection.” – Rosie Jeffrey
Related Gear & Accessories
Underwater Camera Recommendations
For many, the best souvenir is a photograph that captures a remarkable moment. With a few pointers and some patience, underwater photography can be a rewarding frontier for passionate photographers. But it is not easy, and not for everyone. Overall, photography should enhance your experience; if you find that you are frustrated with operating the camera or distracted from your surroundings, take pictures with your eyes! Many of us have thought that we would enjoy underwater photography, only to discover that it was taking away from our ability to enjoy the underwater world.
You have a lot of options when it comes to underwater cameras or reliable waterproof smartphone casings. Some photographers choose to purchase a “housing” to convert their regular above-water camera for use underwater. This can work well, but you must be very careful to apply and maintain the housing to avoid the risk of a leak that could ruin your camera. For beginners, the safest, simplest, and cheapest option is to purchase a camera that is waterproof right out of the box. You will still need to be careful to ensure that the doors that enclose the battery and memory card are clean and properly sealed, and adhere closely to depth limits. Adding a waterproof housing to a waterproof camera offers added security, enables you to dive deeper, and will extend the lifespan of your camera.
Light is essential for photography, and swimming beneath the waves complicates this. For beginners, the ideal scenario is clear skies and shallow water where you won’t need an additional camera light source to capture the underwater scene.
Some popular cameras, like GoPros, are more suited for taking video than still images (though they can do both). On the other hand, the Olympus TG series is well suited for still photography (and can record videos), but they are typically more expensive than GoPros. Make sure you know what kind of photography or videography you are most interested in before you make the purchase. And if it is video, our team advises you to take short clips while you are snorkeling (10-15 seconds long), which will make the editing process quicker as you look for highlights from your film.
For those looking to learn more on how to select a camera, how to best configure your settings, and learn some extra tips for composition, check out this comprehensive guide and the many helpful resources from Backscatter. Otherwise, our team has some quick tips to get you started:
“Underwater action cameras are the easiest for travel: GoPro, DJI, and Insta360 are the leading brands. I recently switched from GoPro to DJI. If you want to focus more on still photography, the Olympus TG6 is the best beginner camera. It’s easy to learn, but has a lot of capabilities and add-on features if you want to take it to the next level. Underwater photography takes time and patience, and the most important thing is to make sure it doesn’t take away from the experience.” – Rosie Jeffrey
“The best camera is the one you know how to use. GoPros seem simple but can be complicated to use. The TG6 (and now TG7) is the best and easiest camera to use for most snorkelers. If you have the money, invest in a light source for your camera. And most importantly, if you want to take good photos, spend lots of time learning about the settings your camera has and how to best set them to compensate for the type of light underwater. Also, always remember to respect the marine life you are trying to photograph and the other snorkelers around you.” – Wayne Sentman
“If you prefer to use your iPhone underwater, I recommend ProShot Dive Universal iPhone Case. (20% discount code “OceanicSociety”) It’s been a trusted companion for underwater adventures, offering durability, reliability, and ease of use and share your fish shots.” – Pei Lun Lee
Dry Bag Recommendations
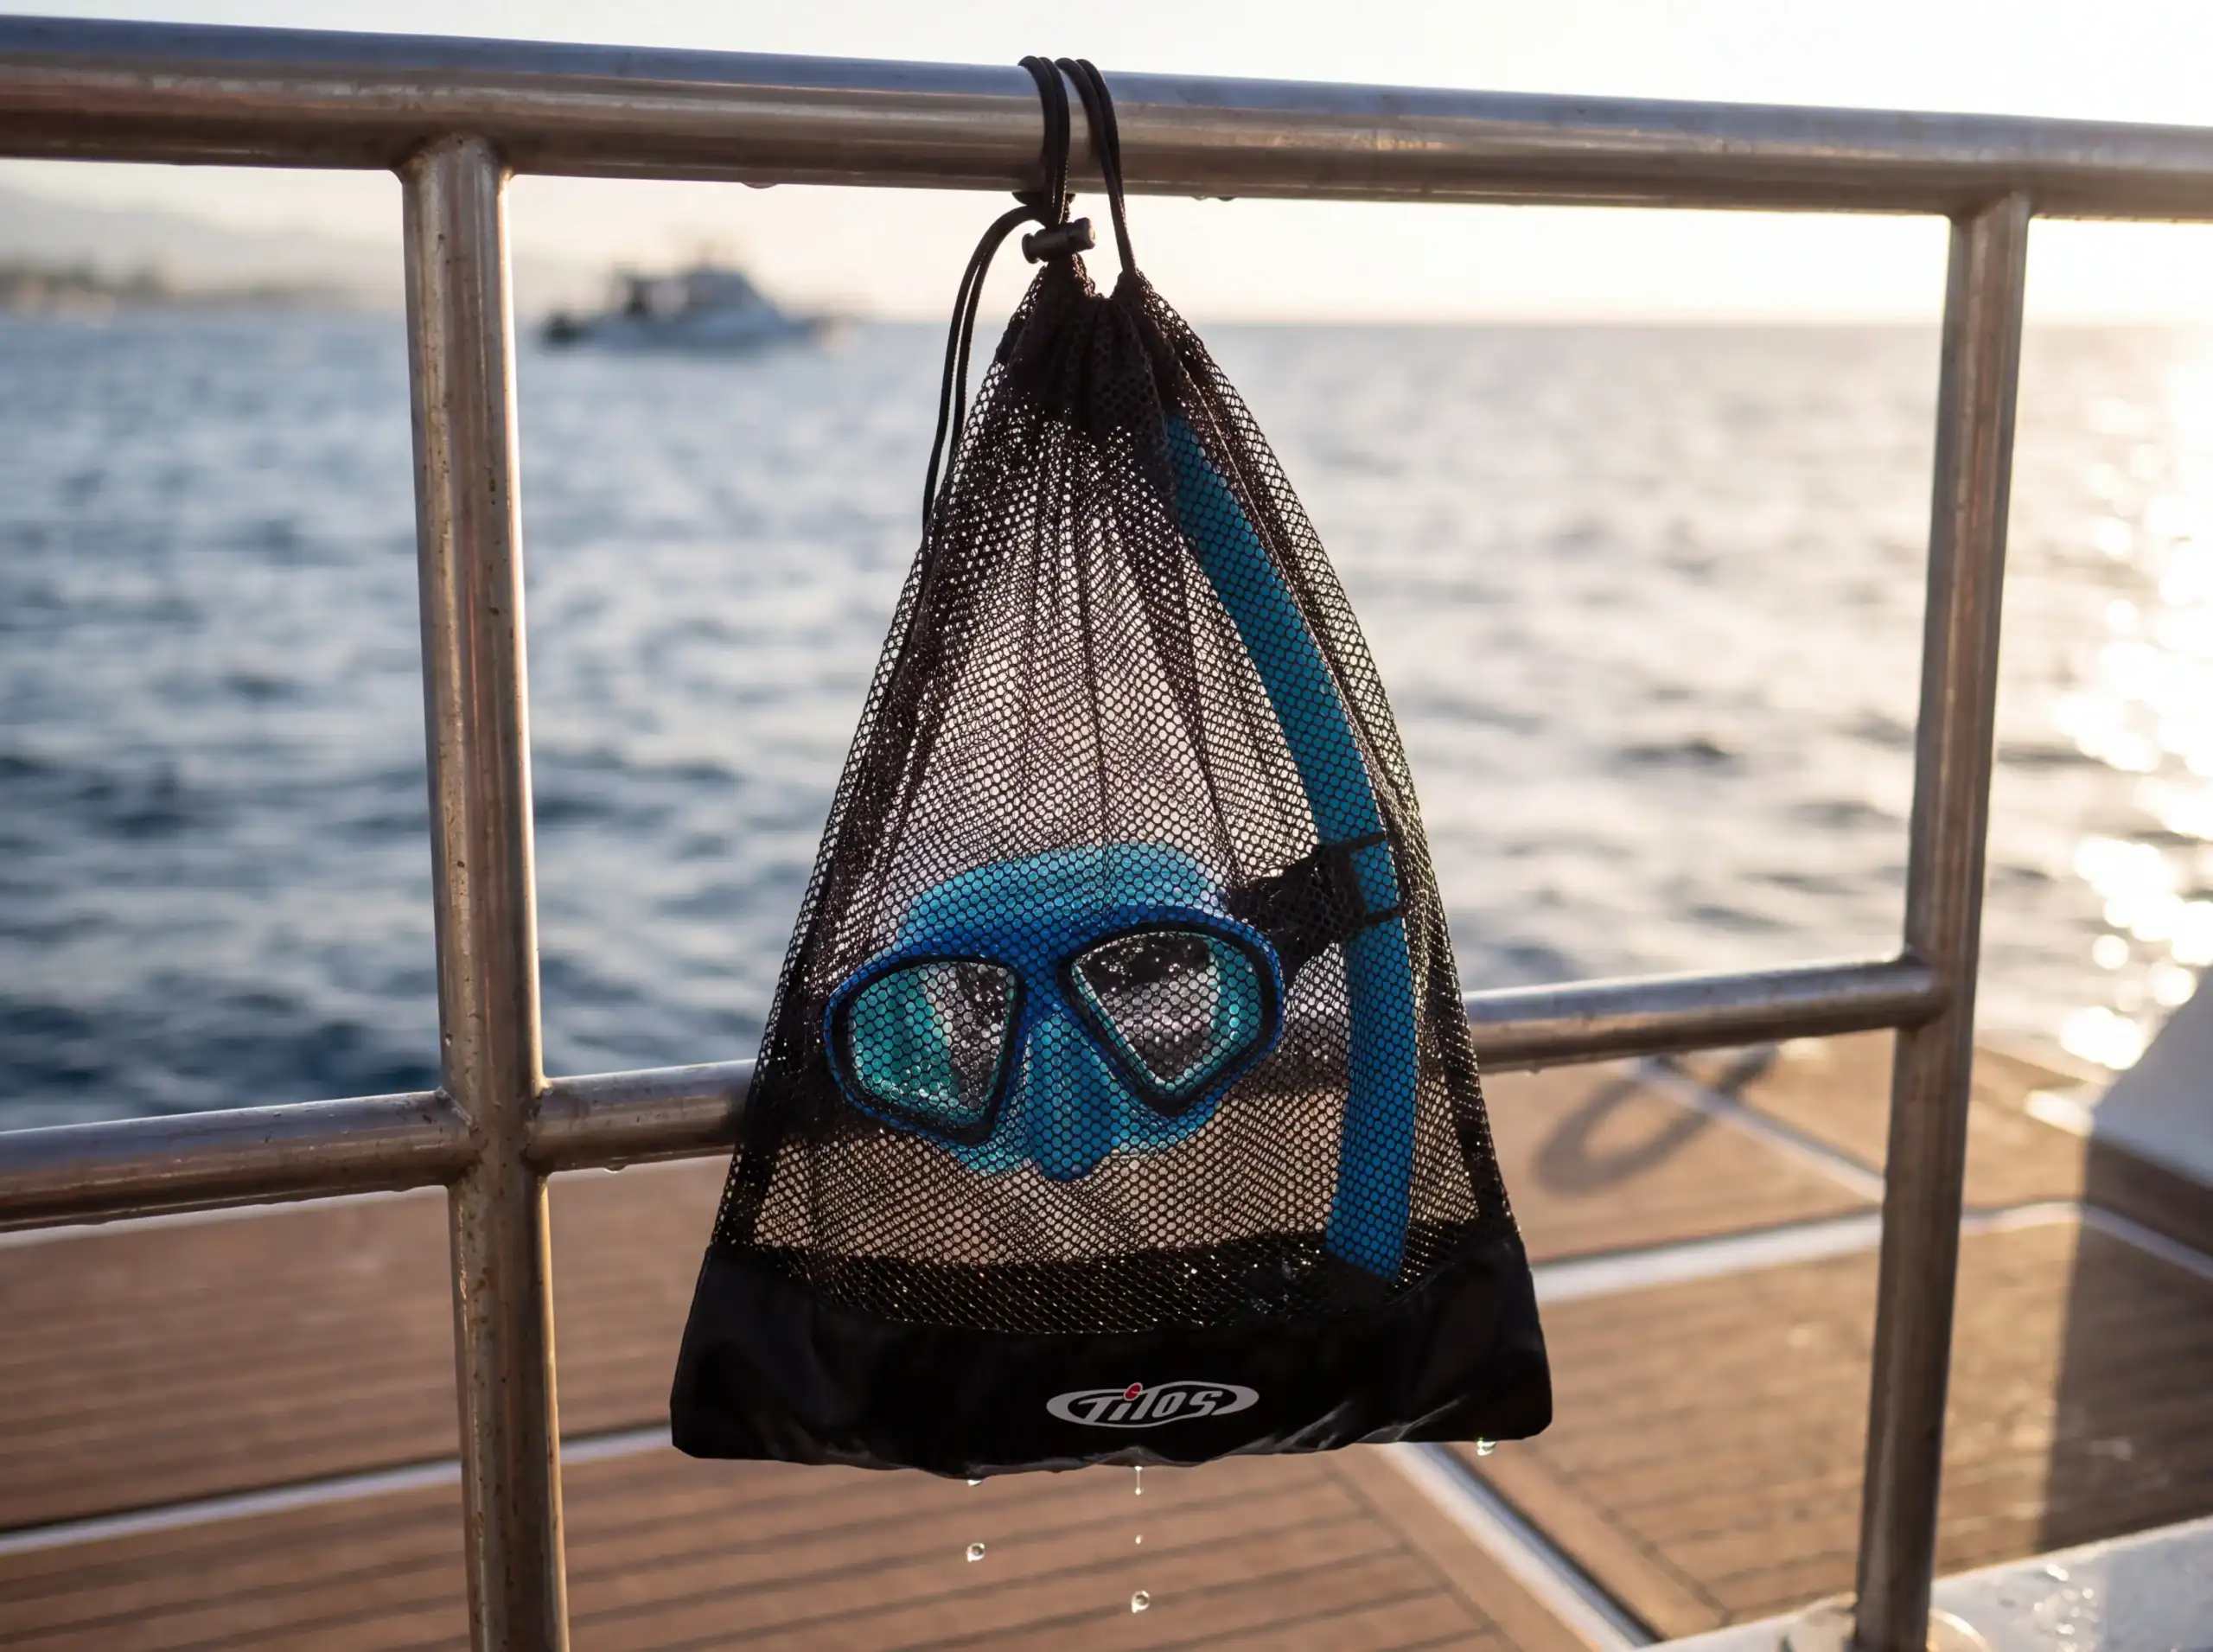
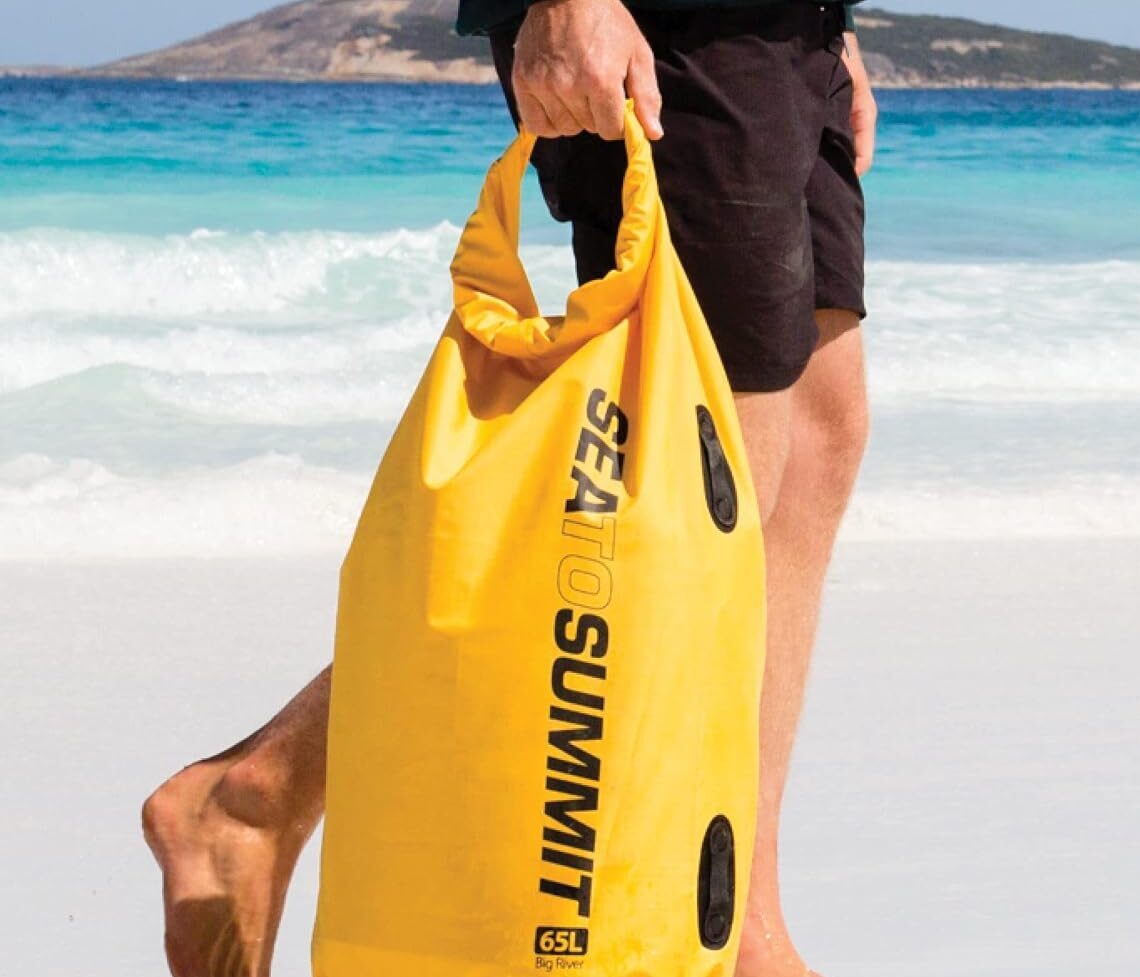
When spending significant time on the water, you will want to make sure that some of your things (like clothes, shoes, smartphones, or regular cameras) remain dry and safe from sea spray or sand while on a boat deck, on a beach, or trekking through a humid or drizzly rainforest. Many “dry bags” are not fully waterproof – so make sure you check the features, as they may save your things if submerged. Also, be sure to keep sand out of the dry bag; otherwise, the sand can rub holes in the bag, or wet sand can cause your things to get mildewy. Consider bringing a separate bag for items dedicated to getting sandy.
Dry Bag Tips:
- Not all dry bags are fully waterproof. Check the product specifications before relying on one to protect valuables if submerged.
- For roll-top bags, roll the opening at least three times and always start from the same side to create a reliable seal.
- Keep sand out of your dry bag. Sand can rub against the material and cause holes, while wet sand can leave your belongings damp and musty.
Shopping Sustainably
We encourage our travelers to shop sustainably to reduce their environmental footprint. One of the best things you can do for the environment is limit how often you make a purchase. Buying quality equipment, as we have listed above, should last you for many snorkeling adventures and reduce waste in the long term.
Supporting brands that are renowned for their environmental footprint is another great way to make a difference as you shop. Consider picking up The Better World Shopping Guide, which is a quick resource that rates brands on their climate impact (drawing on extensive data), allowing you to reward businesses that go above and beyond for the environment with your purchase.
We hope you are excited for your upcoming trip with Oceanic Society, and if you need guidance on what to pack, please feel free to contact us directly so we can give you personalized advice according to your specific trip itinerary.